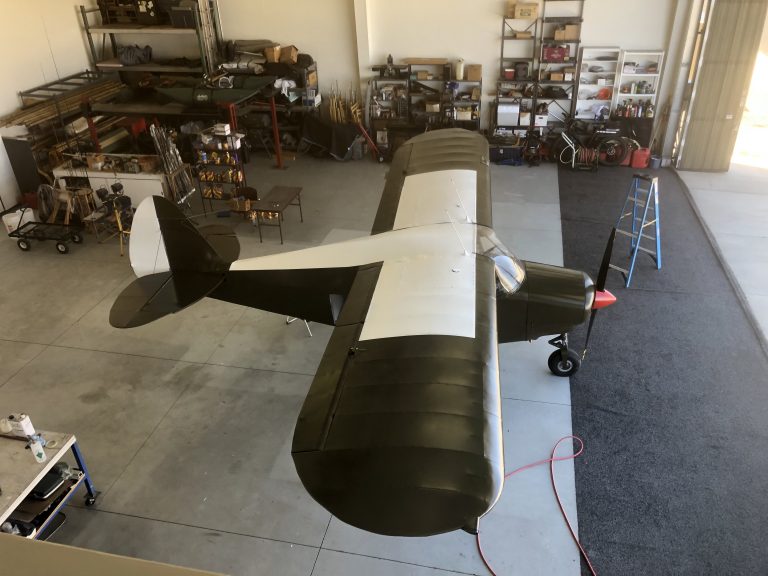
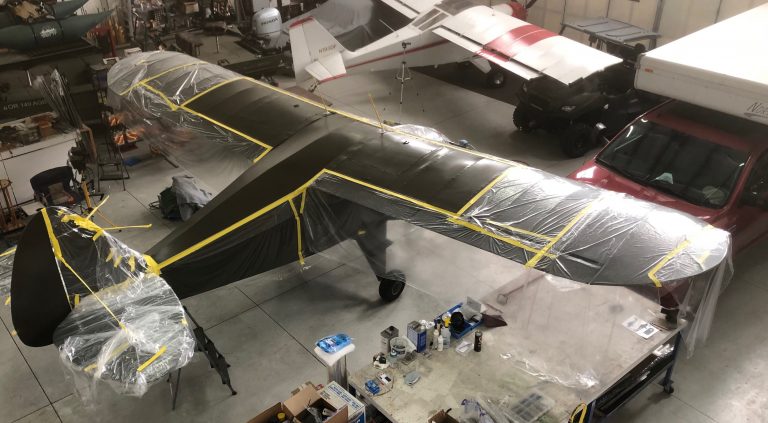
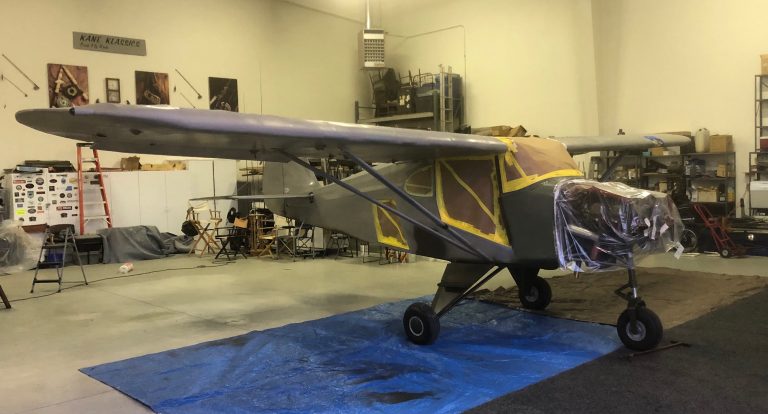
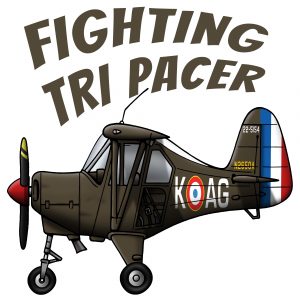
The Reader knows from my previous article in the last issue of our magazine, of my efforts to find and begin the militarization of my Piper Tri Pacer into a French Marine Corps fighting Tri Pacer. This article will outline the effort of repainting a fabric Tri Pacer that had been covered and painted prior to a restoration and not recovering with new fabric.
In any repaint/restoration effort you must know from the aircrafts logs when, how and the material list that the aircraft was covered and painted. I did all the work, restoration and painting with technical support from Consolidated Aircraft Coatings and Mr. Greg Albarian, Managing Director and my A&P Mechanic, Dennis. Your IA or A&P mechanic must inspect and assure the quality of your aircrafts current fabric condition before repaint and restoration. Fortunately mine was hangered all its life and was in prime condition, except for the normal fabric issues that I’ll cover as we proceed
Normal fabric after years on the aircraft will have some lifting tape edges, cracked paint and patch repairs. Consolidated Aircraft who is the Polyfiber Stits product you have all heard about, published an on line bible for fabric application and painting. “How to Cover an Aircraft Using the Poly-Fiber System” is downloadable for free from “conaircraft.com”. This contains the STC for Fabric and paint plus the all-important appendix “I” as in Indian, of the authorized repair of fabric.
Any cracking of paint is a tough nut to get a good repair on. Sand carefully, avoiding high areas and go down just to the original fabric. Then you can use the various Polyfiber paint products to build the area. I learned from Greg to go-slow and paint a light coat, let tack and then a light coat and finally after the Aeothane has bonded you can apply heavier coats. This helps to avoid under lying reaction from your old paints. Using Aerothane silver, I coated the sanded areas to add back the UV protection on all repair sites. The aluminum in the paint blocks the UV. The silver Aerothane provided a uniform under coat for the Olive Drab topcoat later on.
Color and tactical markings were superbly rendered and provide by James Hagen of Aerographics.
Some cracked paint and prior repaired areas needed a standard patch as prescribed in “How to Cover an Aircraft Using the Poly-Fiber System”. On my upgraded 160 HP engine, the prop blast beats the right wing underside so I used a large patch to beef up that area. Some owners opt for putting in an aluminum cover but I was facing enough restoration and paint efforts so this will be a test. Hopefully my repair provides good service or I’ll replace it with an aluminum panel, time will tell.


